Free Shipping on $100+ orders. Take a look at past and present Blog posts for coupons!
Poly Clay Play Stencils - I'm thrilled to introduce you to our mini-pattern stencils! What's unique about them? These stencils feature smaller designs, making them perfect for earrings and other items where a more delicate pattern is desired. So far, I have the Leopard pattern and the Cow pattern in the mini size.
Don't you love the earrings Taylor of Serenity Ever After is working on using the Cow Mini-Pattern Stencil! You can see more of her work - click here.
Enjoy crafting with the variety of fun designs available!
Approximately 3 1/4" x 4.75" - Design area approximately 3" x 4.5"
You will receive one Leopard stencil.
There are so many techniques for using stencils with polymer clay. Here are just a few. Be sure to watch the videos I've added for you.
Basic Steps (Different Stencil Pictured):
Start by spritzing a light coat of Armor All or use your chosen release agent to the back of the stencil. After adding your release agent, lay the stencil on your conditioned sheet of clay. Gently smooth the stencil onto the clay so it slightly adheres to it. This will keep anything from going under the stencil. When the stencil is on the clay follow the steps to create the finished design you want. Once you have done the following step of your choice, gently remove the stencil to see your desired design.
*Form a Raised Pattern:
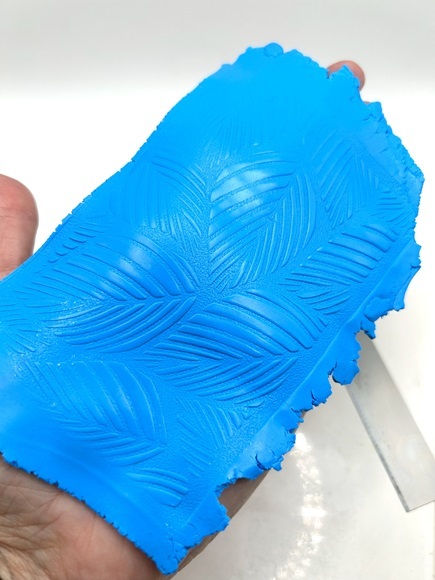
Roll over the stencil using even pressure. Take a look at the photos.

*Apply Foils:
Roll over the stencil using even pressure. Roll hard enough to raise the clay level with the stencil.
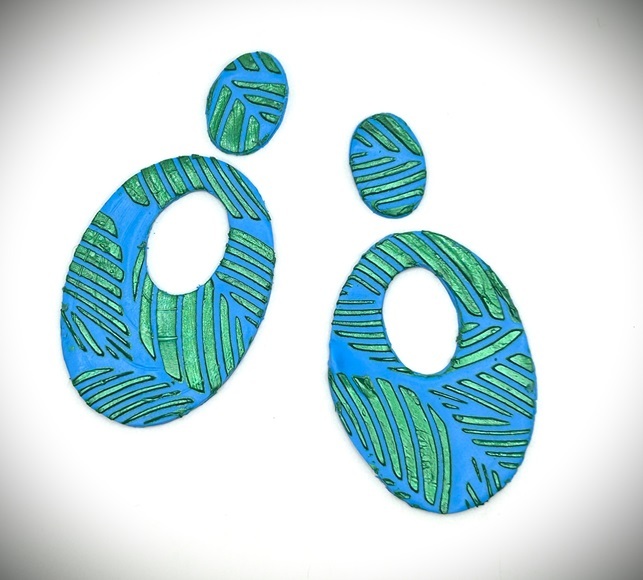
Lay your foil over the clay and rub it. Foil will stick to raw clay. Lay a piece of parchment paper over the foil and rub with your fingers. This will heat up the foil and help it adhere even better. Rip the foil off the clay like you're ripping off a Band-Aid. If the foil didn't stick to an area, line it up and burnish again. Take a look at the video showing this technique.
*Apply Powders or Inks:
Use a soft brush to add powders or a dauber to add inks to the design.
*Dimensional Paint Design:
Apply a thick paint product such as Stencil Butter. After baking, you will want to use some sort of varnish or resin to protect the paint.

NOTE: When using paints, wash your stencil with water and dry it well immediately after use. If you don't, the paint will be very difficult to remove but may stick to a future project. Do not soak your stencil in water for any length of time. This may ruin the stencil.